What to Expect During a Drain Installation

June 16, 2026

This article will guide you through the essential aspects of the drain installation process. Understanding what to expect can help you prepare adequately and ensure a smooth and successful installation. Drain systems are essential for maintaining proper water flow and preventing issues such as flooding. Whether for residential or commercial properties, getting the right system in place is crucial. In the following sections, we will explore every phase of the drain installation process.


Initial Consultation and Assessment

The first step in the drain installation process is the initial consultation and assessment. This involves discussing the specific needs and reasons for a new drain. Is it to solve an existing drainage issue, or is it part of a larger renovation or new construction? Understanding your purpose can help the contractor tailor the best solution. It's also the time to outline any special requirements or concerns you might have.


A site evaluation and feasibility study follow the initial consultation. This phase allows the contractor to assess the area for installation practicality. Potential challenges like landscaping, soil type, and existing structures are evaluated. This study helps in forming a reliable estimate of what the project will entail. Any obstacles can also be discussed at this stage, ensuring transparency and preparation.


During the assessment, design options are thoroughly discussed. Professionals will present various configurations that suit your property's specific context. This discussion will also include material choices that impact durability and aesthetics. By the end of the consultation, an estimated cost and timeline should be clearly outlined. You'll also discuss permits and approvals needed for the project, ensuring compliance with local regulations.


Drainage System Selection

Choosing the right drainage system is crucial for effective water management. There are several types of drainage systems, including French drains, surface drains, and subsurface systems. Each system serves specific purposes and is suited to different terrains. The properties of your land and its intended use will heavily influence this decision. Advice from a knowledgeable contractor can help in selecting the right system for your needs.


Another important aspect is the selection of materials. Different materials offer varied durability, cost, and aesthetic integration. PVC, cast iron, and concrete are common options, each offering its pros and cons. Environmental conditions, such as climate, could also dictate optimal choices. Discussing these aspects ensures the system's longevity and performance.


Customization is often necessary to fit specific site conditions. Modifications can also include integrating drainage with existing systems. This compatibility is important to avoid future system failures or conflicts. Contractors will ensure that chosen solutions fit in seamlessly with current structures. Additionally, environmental considerations should not be overlooked, especially in ecologically sensitive areas.


Site Preparation and Groundwork

Preparing the installation site is a critical step in the drain installation process. It begins with clearing and marking the area slated for installation. Precise measurements and markings help avoid misalignment during construction. Site preparation also involves checking for existing underground utilities. This task ensures that no utility lines are affected during excavation.


Excavation and groundwork follow the site preparation. This phase introduces the physical aspect of the installation. Depending on the complexity of the project, heavy machinery might be required. The contractor manages both labor and equipment, ensuring that everything aligns with the design. Careful excavation minimizes disruption to the surrounding area.


During the groundwork, managing utilities and obstructions are prioritized. Any existing barriers must be addressed to avoid complications. Temporary site adjustments may also be necessary to facilitate a smooth installation process. This can include temporary relocation of obstacles or securing loose soil. Safety measures and precautions are critical throughout this phase to protect both workers and property.


The Installation Process

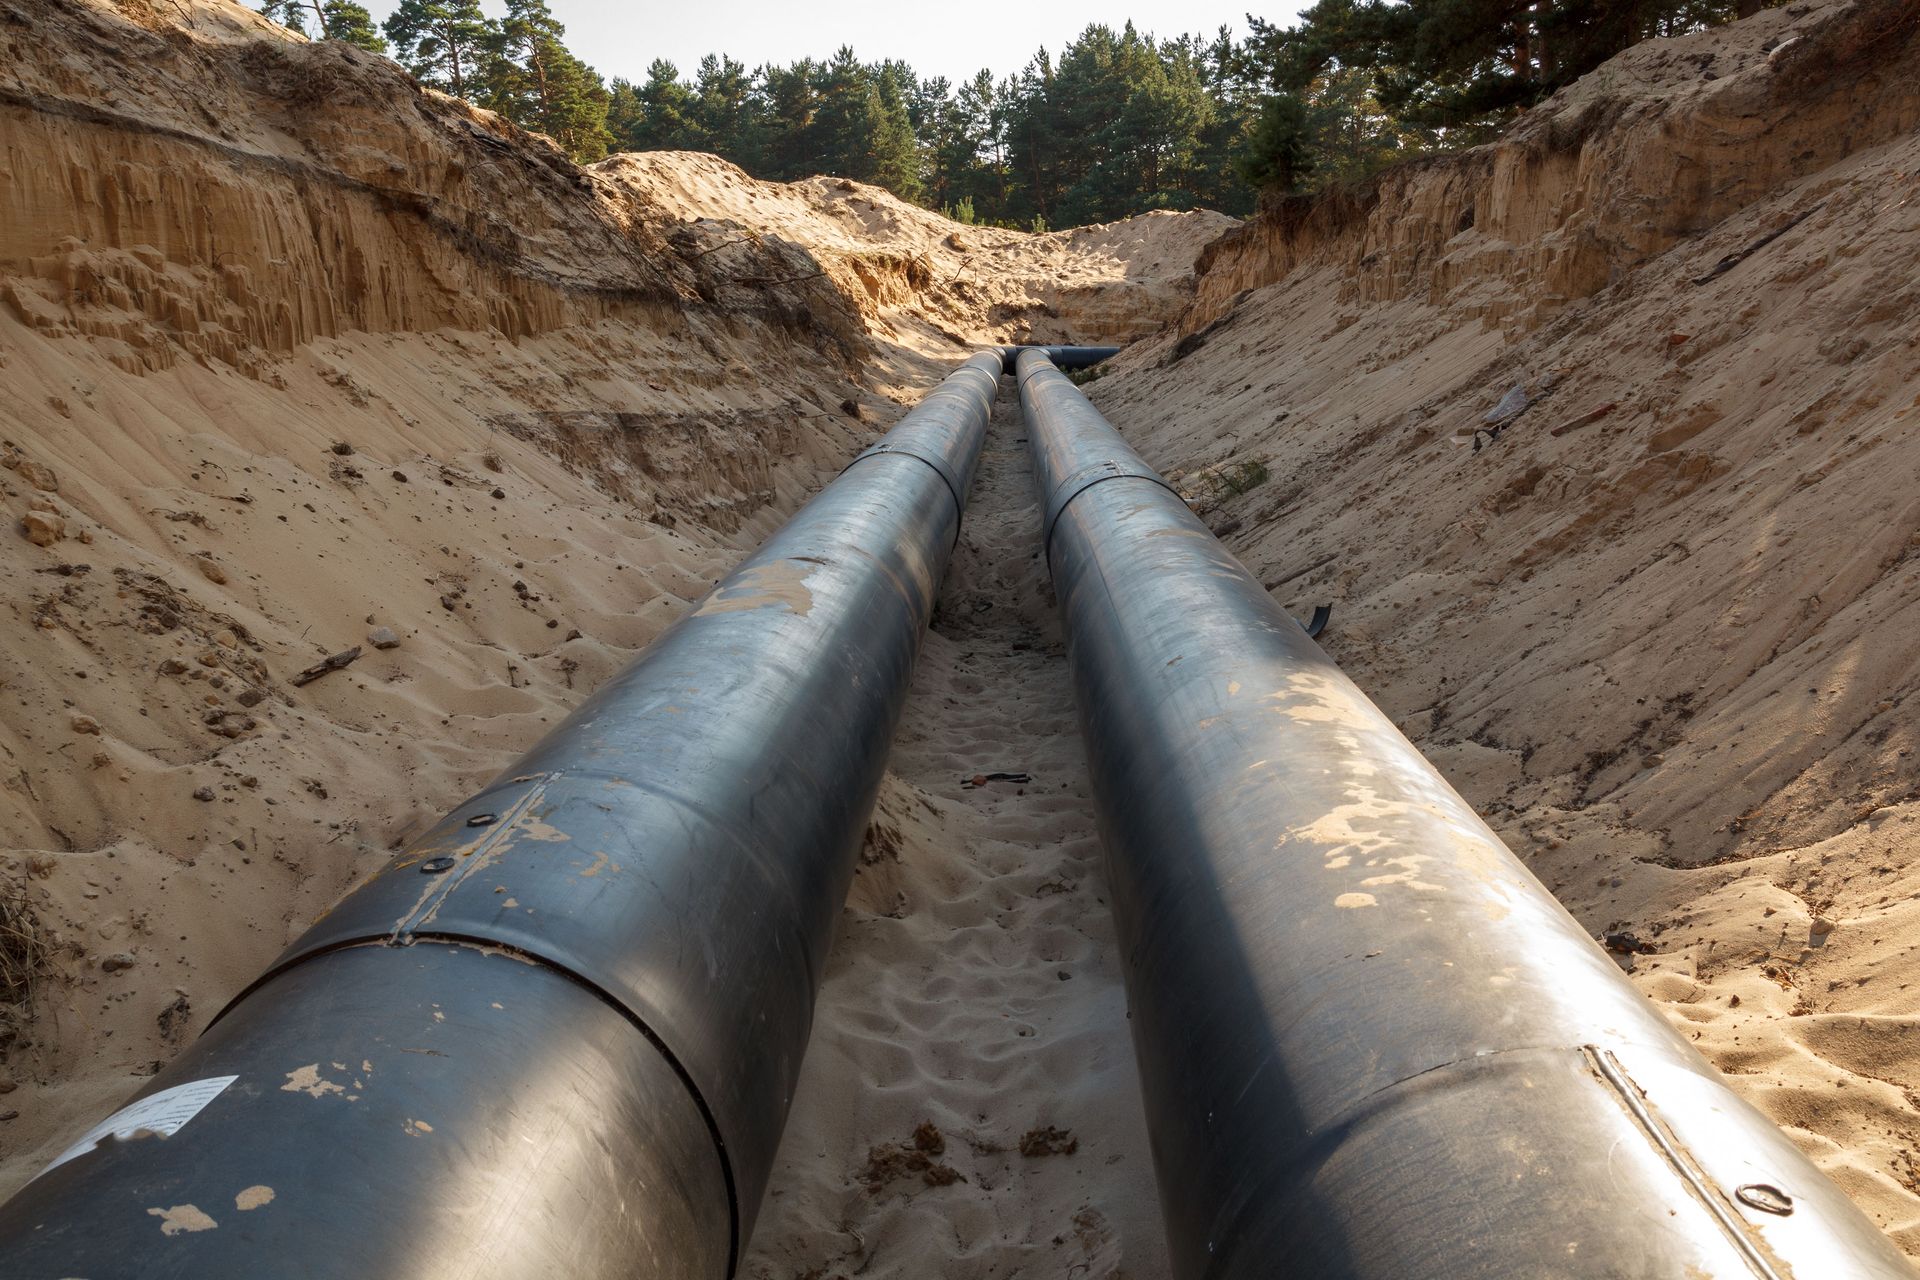
The actual installation of the drainage system begins with laying drainage pipes. These pipes form the backbone of the water management system. Correct alignment is critical to ensure optimal water flow. Skilled technicians use precise measurements to place pipes at the designated slope. Connections and sealants are applied to enhance structural integrity and prevent leaks.


Drainage basins are installed once the pipes are in place. These basins collect water and direct it through the drainage network. The installation of basins needs careful consideration of size and placement. Testing is a crucial part of the installation process. The contractor will run water through the system to verify its efficiency and look for any leaks or blockages.


If issues arise during testing, troubleshooting is necessary. Common issues like misalignments or blockages need swift resolution. Contractors should be prepared with solutions to fix these problems efficiently. Maintaining an open line of communication with your service provider is beneficial. According to Workyard, over 50% of consumers decide on plumbing service providers within 4 hours, with 90% expecting a response within 24 hours, underlining the importance of reliability and fast action during installations.


Post-Installation Cleanup and Landscaping

Post-installation cleanup is essential for returning the site to its original state. This involves removing any debris generated during installation. Proper disposal is necessary to maintain site cleanliness and safety. Once all materials are cleared, attention moves to restoring surfaces and landscaping affected during installation. This restoration might even lead to improvements in the aesthetic appeal of the property.


Inspecting adjacent structures for any installation impact is crucial before considering the project complete. Unaided eyes might miss subtle shifts or cracks in nearby walkways, walls, or other structures. Professionals will perform a thorough inspection to ensure stability and safety. The final steps involve a walkthrough with the contractor. This ensures that all specific concerns and requirements are satisfactorily addressed.


The final walkthrough also includes ensuring aesthetic integrations. This review may involve discussions about the landscape and how the drainage system fits into the overall design. A well-integrated system may add visual appeal to the property alongside functionality. By the project's end, all stages, from preparation to post-installation activities, should reflect quality work and fulfill agreed specifications. Satisfaction at this point signals long-term success and minimal future disruptions.


Maintenance and Long-term Care

Once the drain installation is complete, routine maintenance is crucial for prolonging the system's life. Regular inspections help identify potential issues early. Cleaning and clearing any debris are essential preventive measures. Keeping the drains unobstructed allows for continued optimal operation. A professional maintenance routine can alleviate future costly repairs.


Identifying signs of wear and tear proactively prevents issues from escalating. Faint leaks, unusual noises, or changes in water flow should not be ignored. Seasonal maintenance routines can address problems specific to weather changes. Each season has its challenges, such as winter freezing or fall debris, necessitating different maintenance tasks. Addressing these issues can save you from more severe problems in the future.


Blockages are common, and addressing them quickly and effectively is key. While minor issues might be fixed manually, extensive repairs may require professional intervention. Knowing when to conduct repairs or consider system upgrades ensures your drainage remains functional. With upgrades, efficiency and technology improve over time. Always consult a professional service for quality outcomes, reflecting the importance of a reliable service provider, as consumers often expect rapid responses.


Understanding the steps involved in a drain installation can alleviate concerns and ensure a successful project. By following this comprehensive guide, you can navigate through each phase with confidence, ensuring a drainage system that meets your expectations and serves you well for years to come. From initial consultations to long-term maintenance, each phase is crucial for overall success. Engaging with experienced professionals ensures high standards and quality results. Ultimately, investing in a well-designed drain installation provides peace of mind and enhanced property value.


Protect your property from costly water damage and flooding. Contact Drain My Yard today to schedule your professional drain installation!

What to Expect During a Drain Installation
french drain installation
April 10, 2026
French drain installation timelines vary by size, slope, and materials. Learn what affects project duration and how to plan efficiently.
By 7002328015 February 2, 2026
Water pooling around your foundation is one of the most serious—and common—drainage problems suburban homeowners face. Left unaddressed, it can lead to basement leaks, foundation cracks, mold growth, and costly structural repairs. While permanent drainage solutions should always be designed and installed by a professional, there are several temporary steps homeowners can take to keep water away from the foundation and reduce immediate risk. Below are five practical, short term fixes you can implement now, along with guidance on when it’s time to call Drain My Yard, Northeast Ohio’s yard drainage specialists. 1. Extend Downspouts at Least 10 Feet Away from the Foundation One of the biggest contributors to foundation water problems is roof runoff being discharged too close to the house. Temporary fix: • Install solid downspout extensions (avoid corrugated pipe) • Extend each downspout a minimum of 10 feet away from the foundation • Ensure the outlet discharges downhill and away from the home Why it matters: Roof water can account for thousands of gallons during a single storm. Moving it away from the foundation immediately reduces hydrostatic pressure and basement moisture issues. Limitations: Above ground extensions are not a permanent solution and can shift, clog, or create tripping hazards. It also usually makes mowing the lawn difficult! 2. Move Your Sump Pump Discharge Away from the House A sump pump that discharges right next to the foundation often causes the very problem it’s meant to solve. Temporary fix: • Attach a solid discharge pipe or hose. Sump pump discharge pipes are typically 1.5” in diameter. • Extend the discharge 10–20 feet away from the foundation • Direct water toward a lower area of the yard Why it matters: If sump water drains back toward the house, it increases foundation saturation and causes the pump to run excessively. Important: Temporary sump lines can freeze or clog. A buried discharge line installed by a professional is the safest long term option. Also, make sure not to direct this water toward a neighbors property. 3. Identify and Redirect Water Flowing Toward the Foundation Water pooling near foundations is often caused by surface water flowing toward the house instead of away from it. Temporary fix: • Walk the property during or after heavy rain • Identify areas where water flows toward the foundation • Build a shallow soil berm or temporary swale to redirect flow away from the house Why it matters: Even small grading issues can funnel large volumes of water directly to foundation walls. Caution: Avoid redirecting water onto neighboring properties, which can create legal or code issues. 4. Clear Gutters, Downspouts, and Any Existing Drainage Components Clogged gutters and downspouts can overflow and dump water directly against the foundation. Temporary fix: • Clean all gutters and downspouts • Flush downspouts to confirm proper flow • Clear debris from catch basins, channel drains, or pop up emitters near the house Why it matters: Restoring proper flow prevents overflow and localized pooling next to foundation walls. Red flag: If water backs up after cleaning, underground piping may be collapsed, completely clogged, or improperly installed. 5. Avoid “Quick Fixes” That Trap Water Near the Foundation Some DIY fixes can actually make foundation water problems worse. Avoid : • Dumping soil, mulch, or gravel against the foundation • Filling low spots without creating an outlet • Installing corrugated pipe underground These approaches often trap water and increase foundation moisture over time. When Temporary Fixes Aren’t Enough If water continues to pool near your foundation after storms—or if you’re seeing basement leaks, damp walls, or soil erosion—it’s time for a permanent drainage solution. Drain My Yard specializes in foundation focused drainage solutions for suburban homes throughout Northeast Ohio. We design and install systems that safely move roof, sump, and surface water away from your foundation—without creating problems elsewhere. Why Homeowners Trust Drain My Yard • Local expertise in Northeast Ohio soils and rainfall • Custom drainage designs tailored to each property • Long term solutions that protect foundations and home value For a permanent fix, visit www.soggyyard.com and schedule a consultation with Drain My Yard today. Temporary steps can reduce immediate risk—but a professionally designed drainage system is the only way to permanently protect your foundation.
By 7002328015 January 28, 2026
If your yard turns into a swamp every time it rains, water runs toward your foundation, or your downspouts dump water where it doesn’t belong, you’re not alone. Many suburban homeowners throughout Northeast Ohio struggle with stormwater issues — especially in communities like Hudson, Stow, Cuyahoga Falls, Twinsburg, and Aurora. That’s where rainscaping comes in. At Drain My Yard, we specialize in professional rainscaping solutions that control stormwater, protect your home, and permanently solve soggy yard problems. What Is Rainscaping? Rainscaping is the strategic design of your landscape to manage rainwater on your property, instead of allowing it to pool, erode soil, or discharge onto neighboring properties. Rather than fighting water, rainscaping controls how it flows by: • Capturing rainwater • Slowing it down • Directing it to safe discharge points • Allowing it to soak into the ground naturally Unlike basic landscaping, rainscaping starts with drainage engineering first, then integrates attractive landscape features. Common Rainscaping Solutions Installed by Drain My Yard Every yard is different, which is why Drain My Yard designs custom rainscaping systems based on grading, soil type, and water volume. Solutions may include: • Underground downspout drainage • Rain gardens designed for proper infiltration • Graded swales and drainage pathways • Catch basins and yard drains • Dry creek beds for surface water control • Permeable hardscape areas • Sump pump discharge management Our goal is simple: move water where it should go — safely and legally. Why Rainscaping Is So Important in Northeast Ohio Suburban neighborhoods in Summit County often face: • Heavy clay soils that drain poorly • Older drainage infrastructure • Flat or improperly graded lots • Increased rainfall and runoff Without proper stormwater management, these conditions lead to: • Standing water and muddy yards • Basement leaks and foundation damage • Soil erosion • Ice hazards in winter • Water disputes with neighbors Rainscaping addresses these problems at the source. Benefits of Rainscaping for Homeowners Eliminate Standing Water Rainscaping systems installed by Drain My Yard are designed to dry out yards faster and prevent chronic puddling. Protect Your Foundation and Basement Water that pools near your home can lead to costly foundation and basement issues. Rainscaping moves water away before damage occurs. Prevent Erosion and Landscape Damage By controlling water flow, rainscaping stops soil washout, mulch loss, and damage to walkways and patios. Improve Curb Appeal Drainage solutions don’t have to be ugly. Our rainscaping designs blend seamlessly into your landscape while solving serious water problems. Reduce Liability and Code Issues Improper stormwater discharge can damage neighboring properties or sidewalks. Rainscaping keeps water managed on your property, where it belongs. Environmentally Responsible Rainscaping reduces strain on municipal storm systems and supports groundwater recharge — a win for homeowners and the community. When Rainscaping Makes the Most Sense Rainscaping may be the right solution if: • Your yard stays wet days after rainfall • Water flows toward your house • Downspouts dump water near the foundation • Your sump pump discharge causes pooling • You have erosion or washed-out areas • You live in a low-lying or poorly draining lot These are exactly the issues Drain My Yard solves every day throughout Hudson, Stow, Cuyahoga Falls, Twinsburg, and Aurora. Why Choose Drain My Yard for Rainscaping? Rainscaping is only effective when it’s designed correctly. Improper grading or undersized drainage can make water problems worse. Drain My Yard is the leader in yard drainage and stormwater management in Northeast Ohio. Homeowners choose us because we: • Specialize exclusively in drainage solutions • Design systems based on real water movement — not guesswork • Understand Northeast Ohio soil and rainfall conditions • Provide permanent, professional solutions • Protect your home, yard, and property value We don’t sell landscaping — we solve water problems. Schedule a Professional Rainscaping Evaluation If you’re tired of soggy grass, standing water, or drainage issues that never seem to go away, it’s time to bring in the experts. Drain My Yard provides professional rainscaping and yard drainage solutions throughout Northeast Ohio. Visit us HERE to schedule your consultation.
More Posts →