How Long Does a French Drain Installation Take?

April 10, 2026

French drains are an essential solution for homeowners dealing with excess water that can damage a foundation or saturate a yard. Installing a French drain involves more than just digging a trench; it requires careful planning and execution. Many factors affect the time it takes to complete the installation, from the size of the area to the materials and tools used. In this blog post, we will explore the elements that contribute to the duration of a French drain installation project.


Evaluating the Size of the Drainage Area

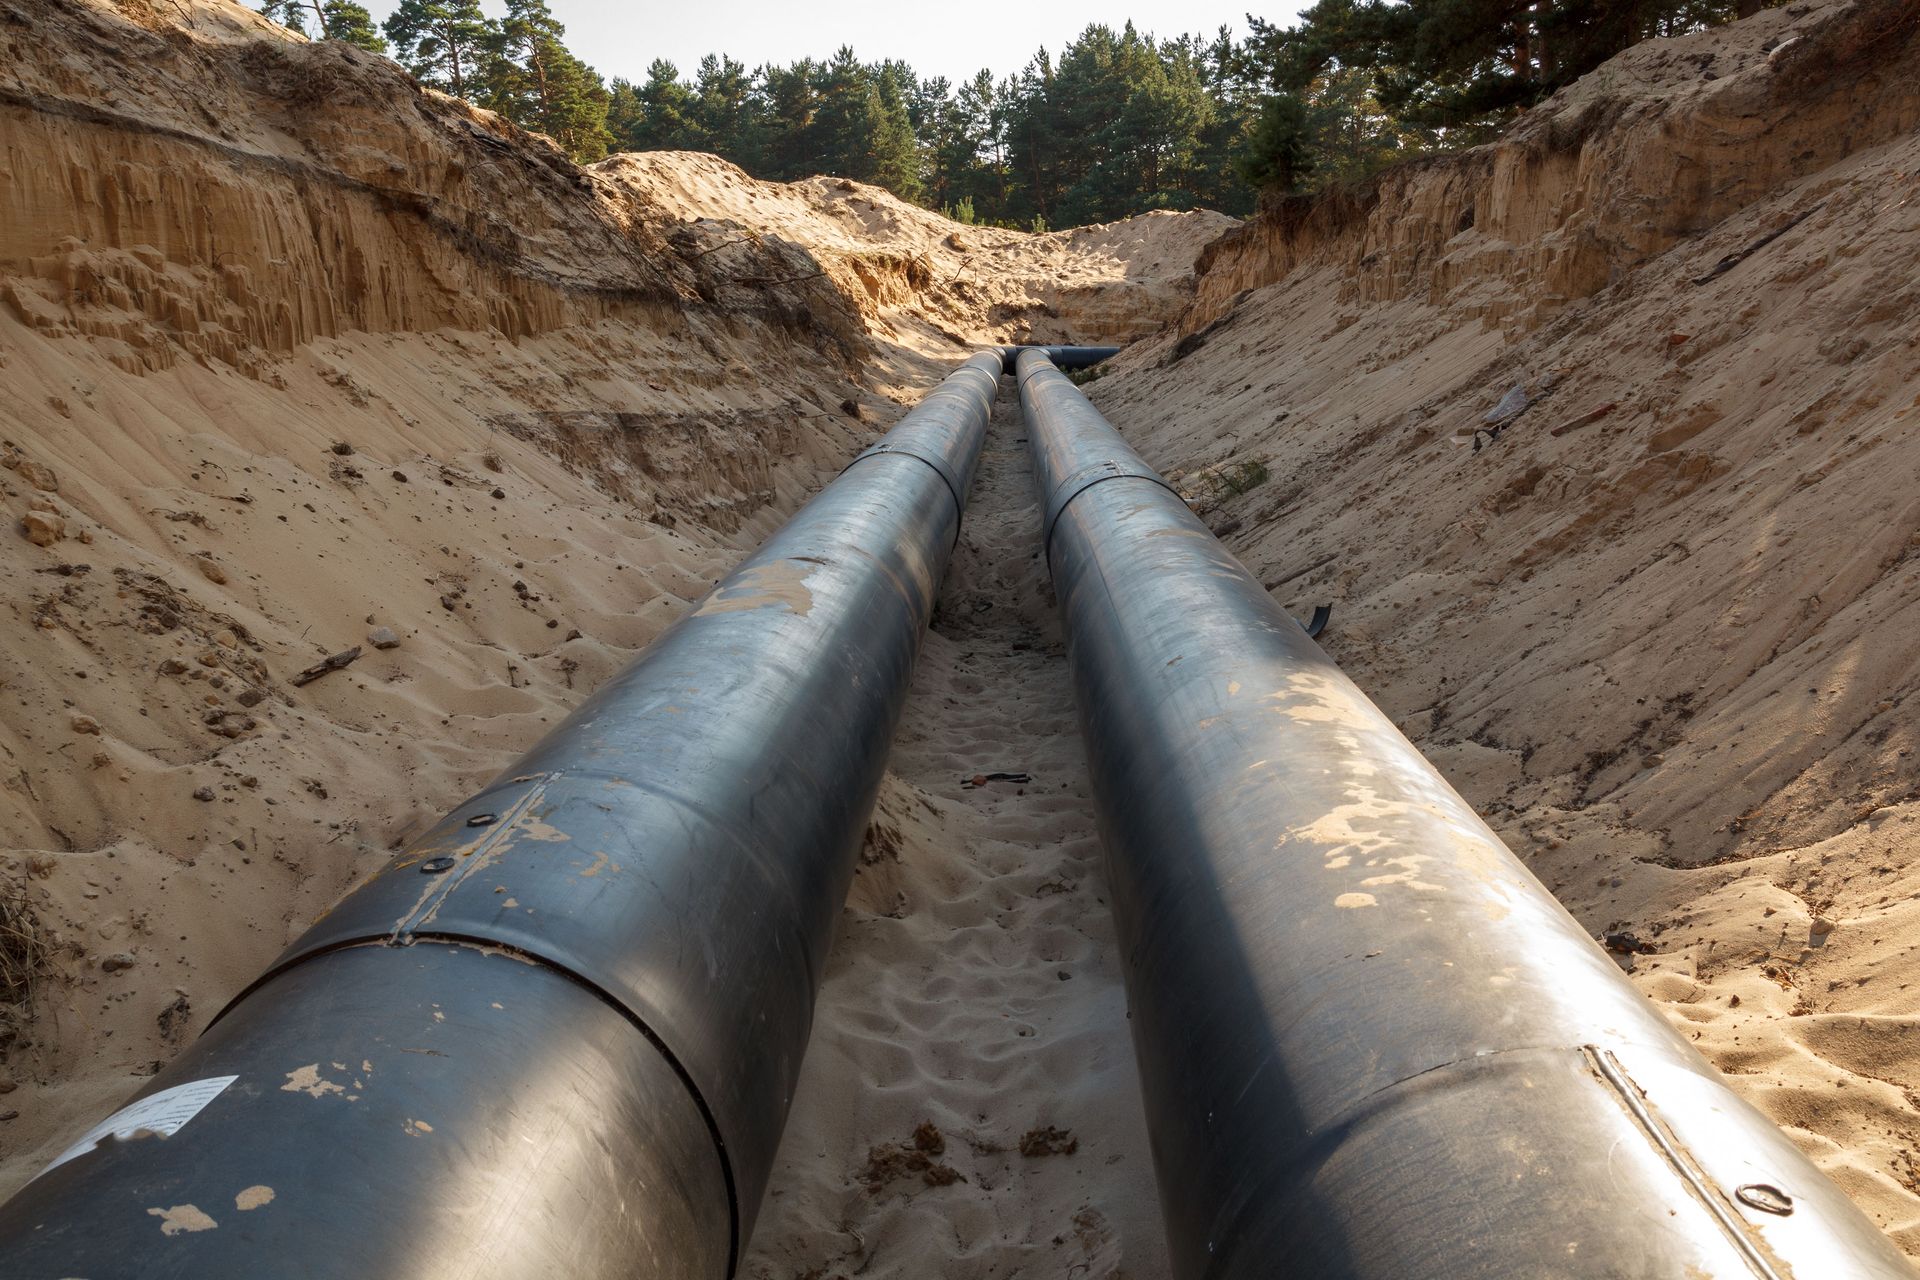
The size of the area requiring drainage is one of the primary factors affecting installation time. Larger areas need longer trenches, which in turn require more labor and time to dig. Typically, a standard residential installation may take one to three days to complete, provided there are no unusual complications. For more extensive projects or more complex landscapes, the process could extend up to a week or more.


Assessing the Slope and Grading Requirements

The slope and grading needed for a French drain can also influence the installation timeline. Proper drainage requires a slope of at least one inch per ten feet of pipe, according to U.S. News. This grading ensures water flows efficiently through the system without pooling. Achieving the correct slope might require additional excavation work, especially if the natural landscape is relatively flat or inconsistent, which could extend the installation process.


Selecting Materials and Equipment

Another consideration is the types of materials and tools being used. Renting tools like trenching machines or backhoes can expedite the process, but acquiring such equipment might add logistical time to the project. The availability of materials, such as gravel and piping, also plays a role. If all materials are readily available, the process moves faster; however, delays in sourcing could push back the timeline.


Planning for Project Efficiency

The duration of a French drain installation can vary widely based on several factors, including project size, slope requirements, and material availability. While smaller residential installations may take only a few days, larger or more complicated jobs could take longer. Proper planning and preparation can help streamline the process, ensuring your French drain is installed efficiently to protect your home from unwanted water damage.


French drains are a vital solution for managing excess water and preventing damage to your foundation or yard. The time it takes to install a French drain depends on several factors, such as the size of the drainage area, the necessary slope and grading, and the materials and equipment used. With proper planning and execution, most residential installations can be completed within a few days. By understanding the elements that influence the timeline, homeowners can ensure their installation is completed efficiently, helping protect their property from water damage. If you're ready to protect your home from water issues, contact Drain My Yard today for a professional French drain installation!

How Long Does a French Drain Installation Take?
drain installation company
August 12, 2026
Working with a drain installation company doesn't have to be confusing. Ask some of these basics questions and get the information you need.
June 16, 2026
Protect your property from standing water and flooding. Learn how professional drain installation uses precise slope mapping, PVC piping, and French drains.
By 7002328015 February 2, 2026
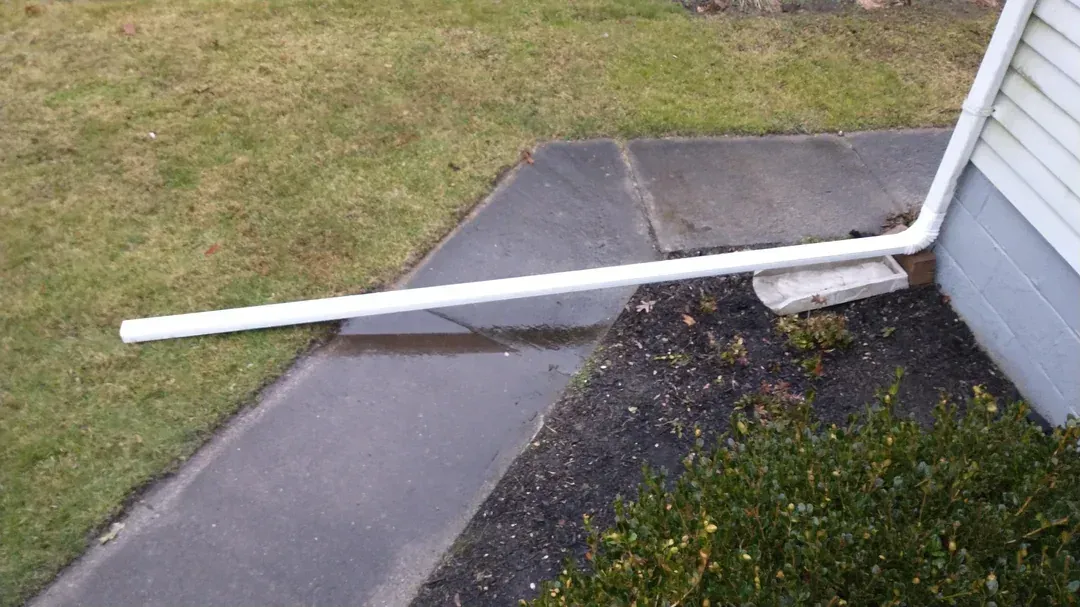
Water pooling around your foundation is one of the most serious—and common—drainage problems suburban homeowners face. Left unaddressed, it can lead to basement leaks, foundation cracks, mold growth, and costly structural repairs. While permanent drainage solutions should always be designed and installed by a professional, there are several temporary steps homeowners can take to keep water away from the foundation and reduce immediate risk. Below are five practical, short term fixes you can implement now, along with guidance on when it’s time to call Drain My Yard, Northeast Ohio’s yard drainage specialists. 1. Extend Downspouts at Least 10 Feet Away from the Foundation One of the biggest contributors to foundation water problems is roof runoff being discharged too close to the house. Temporary fix: • Install solid downspout extensions (avoid corrugated pipe) • Extend each downspout a minimum of 10 feet away from the foundation • Ensure the outlet discharges downhill and away from the home Why it matters: Roof water can account for thousands of gallons during a single storm. Moving it away from the foundation immediately reduces hydrostatic pressure and basement moisture issues. Limitations: Above ground extensions are not a permanent solution and can shift, clog, or create tripping hazards. It also usually makes mowing the lawn difficult! 2. Move Your Sump Pump Discharge Away from the House A sump pump that discharges right next to the foundation often causes the very problem it’s meant to solve. Temporary fix: • Attach a solid discharge pipe or hose. Sump pump discharge pipes are typically 1.5” in diameter. • Extend the discharge 10–20 feet away from the foundation • Direct water toward a lower area of the yard Why it matters: If sump water drains back toward the house, it increases foundation saturation and causes the pump to run excessively. Important: Temporary sump lines can freeze or clog. A buried discharge line installed by a professional is the safest long term option. Also, make sure not to direct this water toward a neighbors property. 3. Identify and Redirect Water Flowing Toward the Foundation Water pooling near foundations is often caused by surface water flowing toward the house instead of away from it. Temporary fix: • Walk the property during or after heavy rain • Identify areas where water flows toward the foundation • Build a shallow soil berm or temporary swale to redirect flow away from the house Why it matters: Even small grading issues can funnel large volumes of water directly to foundation walls. Caution: Avoid redirecting water onto neighboring properties, which can create legal or code issues. 4. Clear Gutters, Downspouts, and Any Existing Drainage Components Clogged gutters and downspouts can overflow and dump water directly against the foundation. Temporary fix: • Clean all gutters and downspouts • Flush downspouts to confirm proper flow • Clear debris from catch basins, channel drains, or pop up emitters near the house Why it matters: Restoring proper flow prevents overflow and localized pooling next to foundation walls. Red flag: If water backs up after cleaning, underground piping may be collapsed, completely clogged, or improperly installed. 5. Avoid “Quick Fixes” That Trap Water Near the Foundation Some DIY fixes can actually make foundation water problems worse. Avoid : • Dumping soil, mulch, or gravel against the foundation • Filling low spots without creating an outlet • Installing corrugated pipe underground These approaches often trap water and increase foundation moisture over time. When Temporary Fixes Aren’t Enough If water continues to pool near your foundation after storms—or if you’re seeing basement leaks, damp walls, or soil erosion—it’s time for a permanent drainage solution. Drain My Yard specializes in foundation focused drainage solutions for suburban homes throughout Northeast Ohio. We design and install systems that safely move roof, sump, and surface water away from your foundation—without creating problems elsewhere. Why Homeowners Trust Drain My Yard • Local expertise in Northeast Ohio soils and rainfall • Custom drainage designs tailored to each property • Long term solutions that protect foundations and home value For a permanent fix, visit www.soggyyard.com and schedule a consultation with Drain My Yard today. Temporary steps can reduce immediate risk—but a professionally designed drainage system is the only way to permanently protect your foundation.
More Posts →